Auto-Annotation
Auto-annotation empowers users to annotate data with the assistance of an AI model. Users can choose the AI model from the available options, depending on the nature of the task. Once the parameters for auto-annotation are configured in the settings tab, users can utilize the magic-wand icon within the annotation playground to apply auto-annotation to individual annotation tasks. For bulk annotation of entire datasets using AI annotation, please refer to Bulk Annotation.
Configuring Parameters for Auto Annotation
To set parameters for AI-based auto annotation, follow the steps outlined below:
- Navigate to the
Auto Annotatetab on the relevant task page. - Click on the
configtab within the Auto Annotate tab. - Activate auto annotation by toggling the enable button.

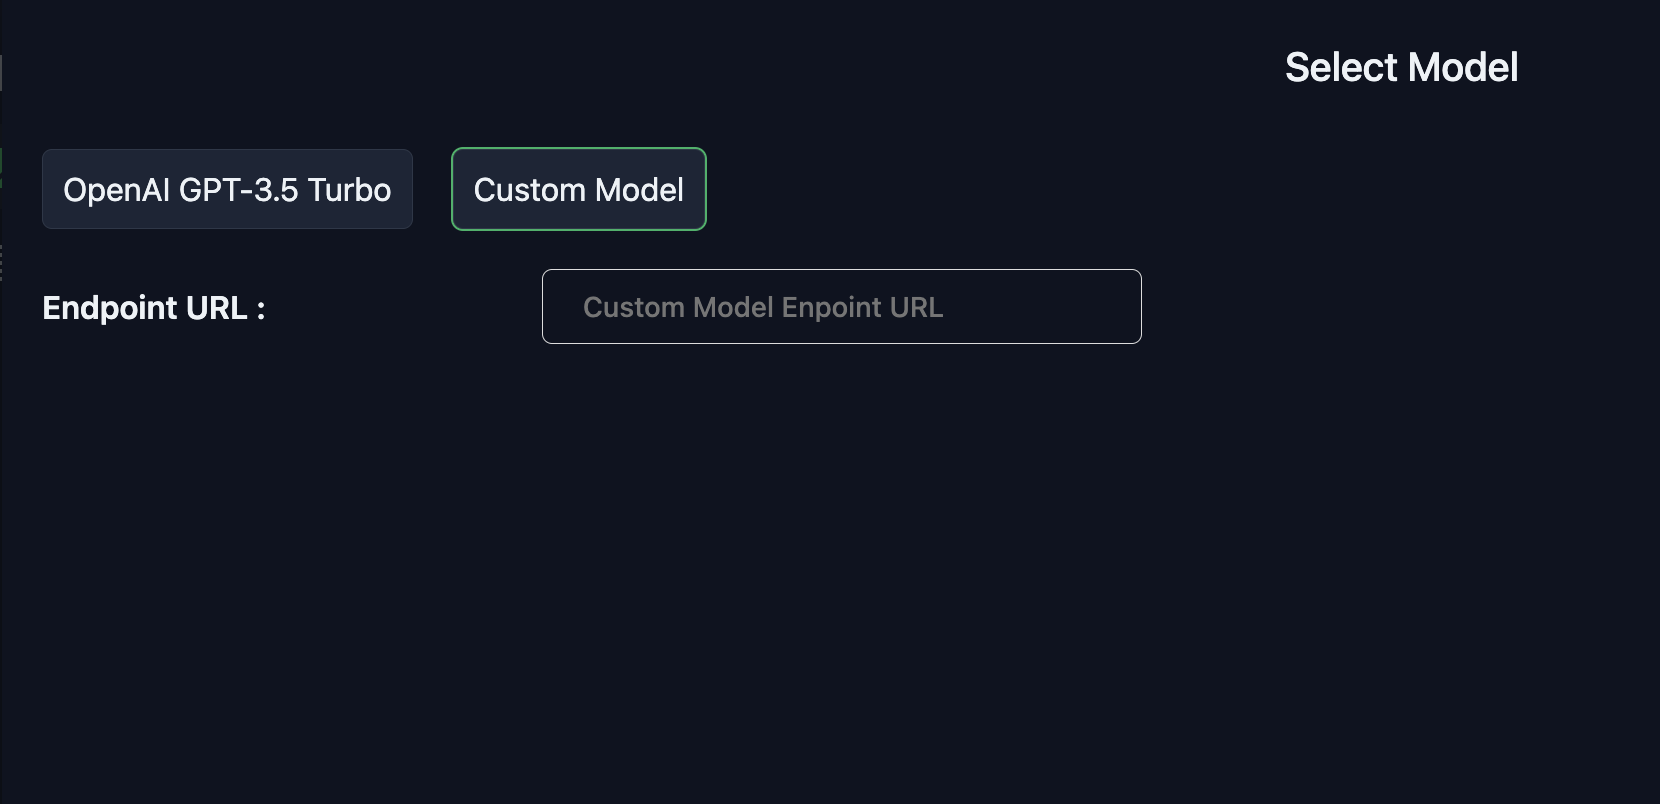
- Choose the required pre-trained model by clicking on the
UPDATE MODELbutton. If you have a custom model, selectCUSTOM MODELfrom the dropdown menu. - If you've chosen a custom model, provide the endpoint/HTTP link to the custom model interface.
Now, auto annotation is enabled for both the annotation playground and bulk annotation.
Demo
Auto annotation is demonstrated in the following video